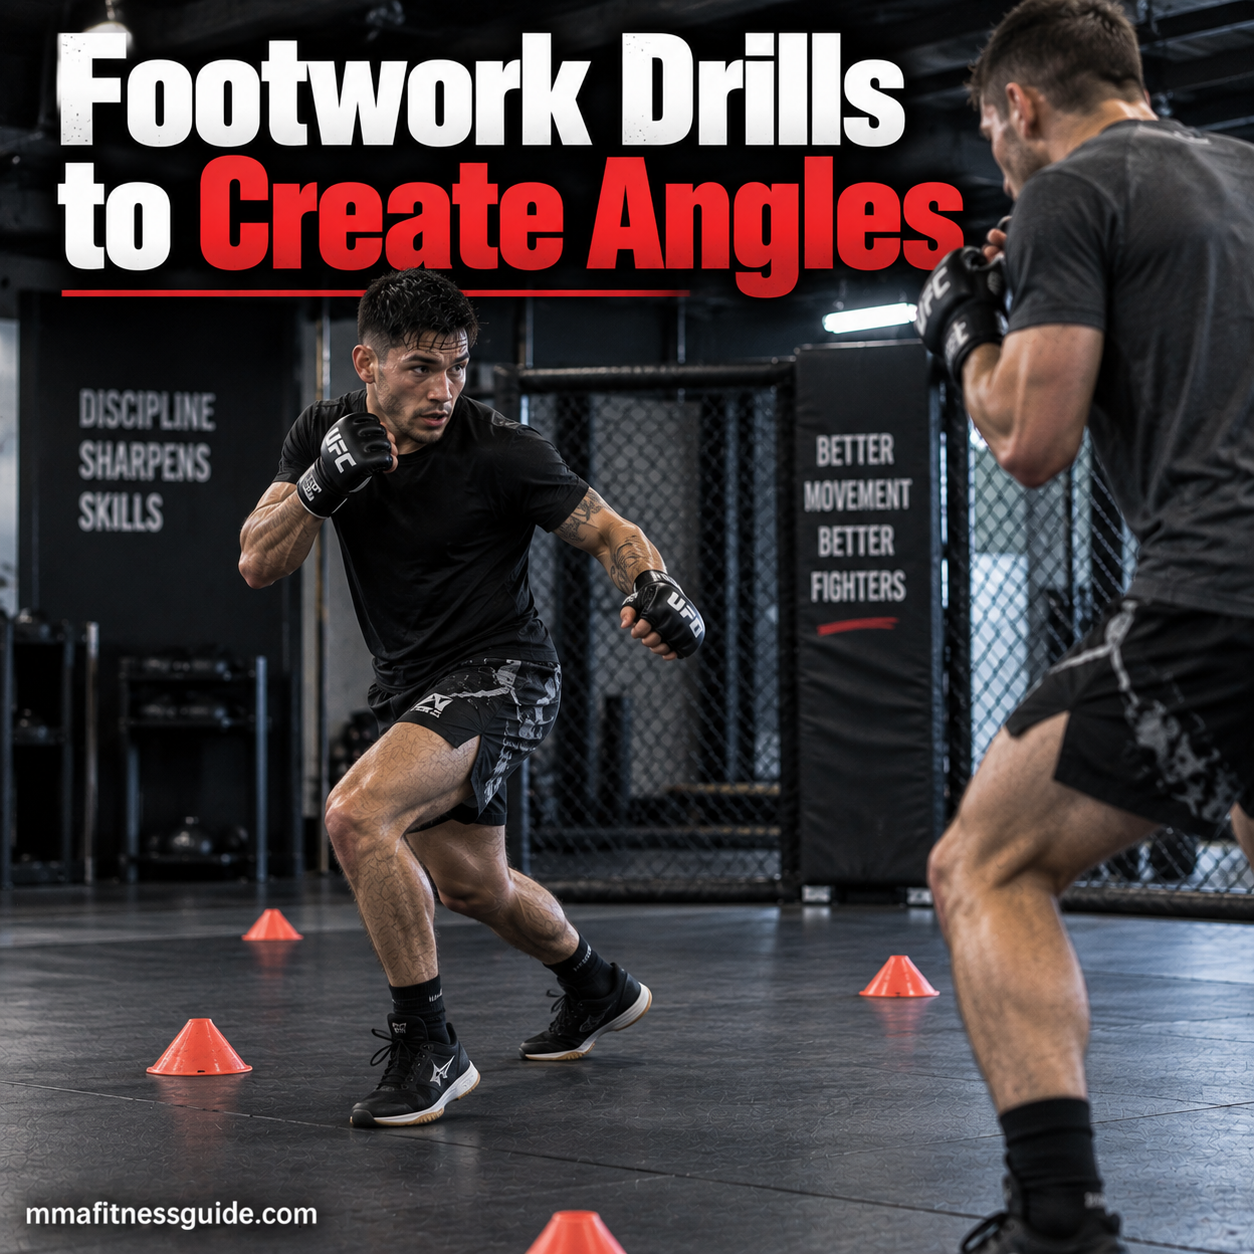
Throw a combination and remain directly in front of your opponent, and you’re still standing in their easiest line of attack. Take one well-timed step or pivot after the combination, and the next exchange can begin from a completely different position.
That’s the practical value of creating angles.
In MMA, footwork helps fighters enter striking range, escape pressure, reposition after combinations, cut off the cage, and connect striking with takedown attempts.
The goal isn’t constant movement. It’s moving at the right moment while maintaining a stance that allows you to attack or defend immediately.
Why Angles Matter in MMA
Many exchanges begin with both fighters facing each other directly.
Changing that alignment can temporarily force an opponent to turn or reposition before attacking effectively.
Angles can help you:
- Move away from an opponent’s immediate line of attack
- Reposition after throwing combinations
- Create openings for counters
- Escape forward pressure
- Cut off an opponent moving toward the cage
- Set up certain takedown entries
- Maintain offense while changing position
A small positional advantage may only last a second.
That’s often enough time to land another strike, disengage, or transition into another attack.
Understanding MMA Footwork
Good footwork begins with maintaining a usable stance while moving.
Your feet should generally remain positioned so you can:
- Strike
- Defend
- Change direction
- Sprawl
- Check kicks
- Level change
- Accelerate away from danger
Taking an angle isn’t useful if the movement leaves you crossed up or badly off balance.
Before adding speed, learn to arrive in a position where you’re ready for the next exchange.
The L-Step
An L-step changes your line of movement rather than continuing directly backward.
A common version involves retreating and then moving laterally or diagonally to exit the opponent’s path.
It can be useful when someone is pressuring forward because it helps you avoid backing straight toward the cage.
Exact mechanics vary by stance and coaching system, so learn the version used in your gym.
The main concept is straightforward: retreat, change direction, and regain a useful attacking position.
The Pivot
A pivot rotates your stance to face a new direction.
Rather than taking several large steps around an opponent, a fighter can use a smaller rotational movement to change the angle.
Pivots can be incorporated:
- After a jab
- After combinations
- During defensive movement
- When escaping pressure
- When turning an opponent near the cage
Keep the movement controlled.
An oversized pivot may create more distance than necessary or leave you poorly positioned for the next technique.
Diagonal and V-Step Movement
Diagonal steps allow you to enter or exit without moving directly along the centerline.
Depending on the situation, you might step diagonally while jabbing, feinting, changing stance, or setting up another attack.
Think about the movement as creating a new line rather than simply moving sideways.
That distinction becomes important when an opponent is also moving.
Keep Your Stance Connected to the Target
Creating an angle doesn’t mean turning your body away from the exchange.
After repositioning, your stance should allow you to see the opponent and respond.
Your hips, shoulders, and feet may need to realign as you move.
The exact alignment depends on what you’re preparing to throw. A punch, kick, level change, and defensive reaction may each require slightly different positioning.
The objective is to move without temporarily taking yourself out of the fight.
Footwork Drills for Creating Angles
These drills progress from predictable movement toward reacting to another person.
Start slowly enough to maintain balance and stance.
1. L-Step Shadowboxing
Shadowbox at a controlled pace.
After selected combinations, use an L-step or diagonal exit instead of remaining directly in front of your imaginary opponent.
For example:
Jab-cross → angle out → reset
or:
Jab-cross-hook → L-step → face the target again
Don’t force an angle after every combination.
Mix straight exits, pivots, and stationary defensive movements so the drill doesn’t become an unrealistic pattern.
Focus On
- Maintaining stance width
- Keeping your eyes forward
- Avoiding crossed feet
- Returning to a position where you can strike again
Try 2–3 rounds of 2–3 minutes.
2. Triangle Cone Drill
Place three cones several feet apart in a triangle.
Begin at one cone and move toward another while maintaining your fighting stance. When you reach it, pivot or change direction toward the next cone.
The cones give you visible reference points for changing lines.
Focus On
- Short controlled steps
- Smooth directional changes
- Maintaining balance
- Keeping your stance intact
Once the movement feels natural, add jabs, feints, or defensive reactions while moving.
3. Jab-and-Pivot Drill
Throw a controlled jab and immediately pivot to a new angle.
After the pivot, reset your stance and imagine your opponent turning to face you.
You can then add another strike.
For example:
Jab → pivot → cross
or:
Jab → pivot → jab
The purpose isn’t to spin as far as possible. You’re practicing a small positional change that prepares the next attack.
Perform the drill on both sides when appropriate for your stance and skill level.
4. Combination + Angle-Out Drill
Throw a short combination and move diagonally after the final strike.
For example:
Jab-cross → diagonal exit
or:
Jab-cross-hook → pivot → reset
This develops the habit of considering where you’ll finish a combination rather than concentrating only on the punches themselves.
Start with predetermined combinations.
Later, choose the exit based on an imaginary counterattack.
5. Wall or Cage Pressure Drill
Stand several feet from a padded wall or cage with a partner in front of you.
The partner applies controlled forward pressure.
Your job is to use footwork to avoid becoming stationary against the boundary.
Practice:
- Pivots
- L-steps
- Diagonal exits
- Circling
- Changing direction
The partner should begin at low intensity.
This isn’t sparring. The purpose is to recognize when you’re running out of space and reposition before becoming trapped.
6. Angle-and-Counter Drill
Have a partner throw a predetermined attack at low speed.
Defend, move to an angle, and return with a controlled counter.
For example:
Partner jabs → parry or evade → angle → counter
or:
Partner pressures → pivot → jab
This begins connecting footwork with actual tactical decisions.
Movement becomes more useful once you understand what opponent reaction creates the reason to move.
7. Reactive Angle Drill
Once basic movement is comfortable, remove some predictability.
A coach or partner can provide visual or verbal cues indicating a direction.
You might react by:
- Pivoting left
- Pivoting right
- Exiting diagonally
- Circling
- Stepping forward at an angle
Add a controlled strike after repositioning.
Eventually, replace verbal commands with actual movement from your partner.
Reading body position is more representative of fighting than waiting for someone to shout “left” or “right.”
8. Cut-Off-the-Cage Drill
Angle creation isn’t only defensive.
One fighter circles along the outside of a designated area while the other tries to reduce their available space.
The pursuing fighter should avoid simply following.
Instead, step diagonally to intercept the opponent’s path.
This teaches the difference between chasing an opponent and cutting off their movement.
Switch roles every 30–60 seconds.
9. Footwork Into Takedown Entries
Angles can also create wrestling opportunities.
Practice stepping outside an imaginary opponent’s lead leg before performing a controlled level change or entry.
You can also combine:
Jab → angle step → level change
or:
Feint → diagonal step → takedown entry
Perform these movements technically before increasing speed.
Footwork should improve the entry rather than turn it into a rushed shot from poor position.
How to Add Angle Drills to Training
Footwork drills don’t require an entire separate workout.
Ten or fifteen focused minutes can be enough to practice a specific movement before regular training.
Beginner
Try:
- 5 minutes of basic stance movement
- 5 minutes of triangle cone drills
- 2 shadowboxing rounds emphasizing controlled exits
Concentrate on balance before speed.
Intermediate
Add:
- Jab-and-pivot drills
- Combination-and-exit drills
- Cage-pressure movement
- Basic reactive partner work
Begin connecting footwork to actual offensive and defensive situations.
Experienced Fighters
Training can progress toward:
- Unscripted partner movement
- Feints and reactions
- Cage-cutting drills
- Angle-based takedown entries
- Situational sparring
At this stage, the question becomes less about whether you can perform the movement and more about whether you recognize the right moment to use it.
Common Footwork Mistakes
Crossing Your Feet
Crossed feet can temporarily compromise balance and make it harder to change direction.
Slow the drill down until you can move without tangling your stance.
Taking Steps That Are Too Large
Bigger isn’t necessarily better.
Large steps take longer to complete and can leave your stance stretched.
Small adjustments are often enough to create a useful angle.
Moving Without a Purpose
Circling continuously may look active without accomplishing much.
Connect movement to a reason:
- Escape pressure
- Create an attacking line
- Force an opponent to turn
- Set up a takedown
- Cut off the cage
Admiring Your Combination
Many fighters focus entirely on throwing and stop moving once the final punch lands.
Build exits into combination drills so the exchange doesn’t automatically end with you standing directly in front of the opponent.
Moving Faster Than You Can Control
Speed doesn’t fix poor mechanics.
First make the movement balanced and repeatable. Then increase the pace while preserving the same positioning.
From Drills to Sparring
Cone drills and shadowboxing teach movement patterns, but another fighter introduces the timing problem.
During light or situational sparring, choose one footwork objective.
For example:
- Pivot after your jab
- Avoid backing straight toward the cage
- Exit at an angle after combinations
- Cut off the opponent rather than following
- Create an angle before selected takedown attempts
Limiting the objective makes it easier to recognize whether you’re actually applying the skill.
As the movement becomes more natural, you can stop consciously forcing it into every exchange.
Final Thoughts
Creating an angle doesn’t require dramatic movement.
Sometimes a short pivot after a jab or one diagonal step after a combination is enough to change the opponent’s position relative to yours.
Practice those movements first without resistance. Then add strikes, pressure, partner reactions, and eventually controlled sparring.
The goal is to arrive somewhere useful: balanced, facing your opponent, and ready to strike, defend, wrestle, or move again.