You reach for an underhook during a wrestling exchange, and your shoulder feels tight. Later, while throwing a high kick, you notice that one hip moves comfortably while the other feels restricted. Neither sensation necessarily means you’re injured, but both are worth paying attention to.
MMA places unusual demands on the shoulders and hips. Punching requires rapid arm movement and coordinated rotation. Wrestling involves pulling, pushing, lifting, and resisting unpredictable forces. Kicking demands strength and control through large ranges of motion, while grappling can place joints in positions rarely encountered during ordinary strength training.
Building durable shoulders and hips means preparing these areas to tolerate the demands of your sport. That requires more than stretching before class or lifting heavy weights twice a week.
A useful approach combines appropriate mobility, progressive strength training, movement control, sensible training loads, and adequate recovery.
No exercise routine can make a joint injury-proof. However, developing these qualities can improve your physical capacity and help you train more consistently.
What Does Joint Durability Actually Mean?
A durable joint isn’t simply one that can move through an impressive range of motion.
Consider two fighters.
The first can lift their leg high during a passive stretch but struggles to control a kick at that height. The second has slightly less flexibility but can lift, hold, and lower their leg smoothly without losing balance.
The second fighter may have better usable control within their available range.
The same principle applies to shoulders. Being able to raise your arms overhead doesn’t automatically mean you can comfortably support weight in that position.
Joint durability involves several overlapping qualities:
- Mobility: Accessing the range of motion needed for a movement.
- Strength: Producing and resisting force.
- Control: Coordinating movement through an appropriate range.
- Capacity: Tolerating repeated training demands.
- Recovery: Allowing enough time to adapt between demanding sessions.
You don’t need maximum flexibility in every direction. You need enough movement and strength for the positions your training requires.
It’s also worth recognizing that joint structure varies between individuals. Two athletes may have different comfortable ranges of motion without either having a problem.
The goal is not to force every fighter into identical positions.
Why Shoulders and Hips Need Special Attention in MMA?
The shoulder allows extensive movement, which is useful for punching, framing, clinching, and grappling.
That freedom also means the surrounding muscles must coordinate to position and control the arm.
The hip is a large, powerful joint that contributes to kicking, changing levels, driving through takedowns, and maintaining balance.
Both areas experience repeated loading throughout a typical training week.
A fighter might complete heavy bag work on Monday, wrestling on Tuesday, strength training on Wednesday, and hard sparring on Thursday. Even when individual sessions feel manageable, their combined demands can become substantial.
A durability program should account for this cumulative workload.
Adding more exercises isn’t always the answer. Sometimes the useful adjustment is reducing unnecessary fatigue or distributing demanding sessions more effectively.
Part 1: Building Durable Shoulders
1. Start With Shoulder Blade Control
The shoulder blade, or scapula, moves along the rib cage as you raise, lower, push, and pull with your arm.
Its movement contributes to normal shoulder function.
Rather than trying to hold your shoulder blades in one rigid position during every exercise, practice controlling them through different movements.
Exercise: Scapular Push-Ups
Start in a push-up position with your elbows straight.
Allow your chest to move slightly toward the floor as your shoulder blades come together. Then push the floor away, allowing the shoulder blades to spread apart.
Keep the movement controlled without bending your elbows excessively.
Starting prescription: 2 sets of 8–12 repetitions.
If the full push-up position is difficult, perform the exercise against a wall or on an elevated surface.
Exercise: Wall Slides
Stand with your back near a wall and position your arms comfortably against it.
Slowly slide your arms upward without forcing them into a painful range.
Lower them with control.
Starting prescription: 2 sets of 8–10 repetitions.
These exercises are useful for practicing movement, but they aren’t a substitute for progressively challenging strength work.
2. Strengthen the Rotator Cuff
The rotator cuff consists of four muscles that contribute to shoulder movement and stability.
These muscles work during punching, grappling, and resistance training, but they don’t necessarily need to be trained with heavy loads in isolation.
Controlled resistance is a practical starting point.
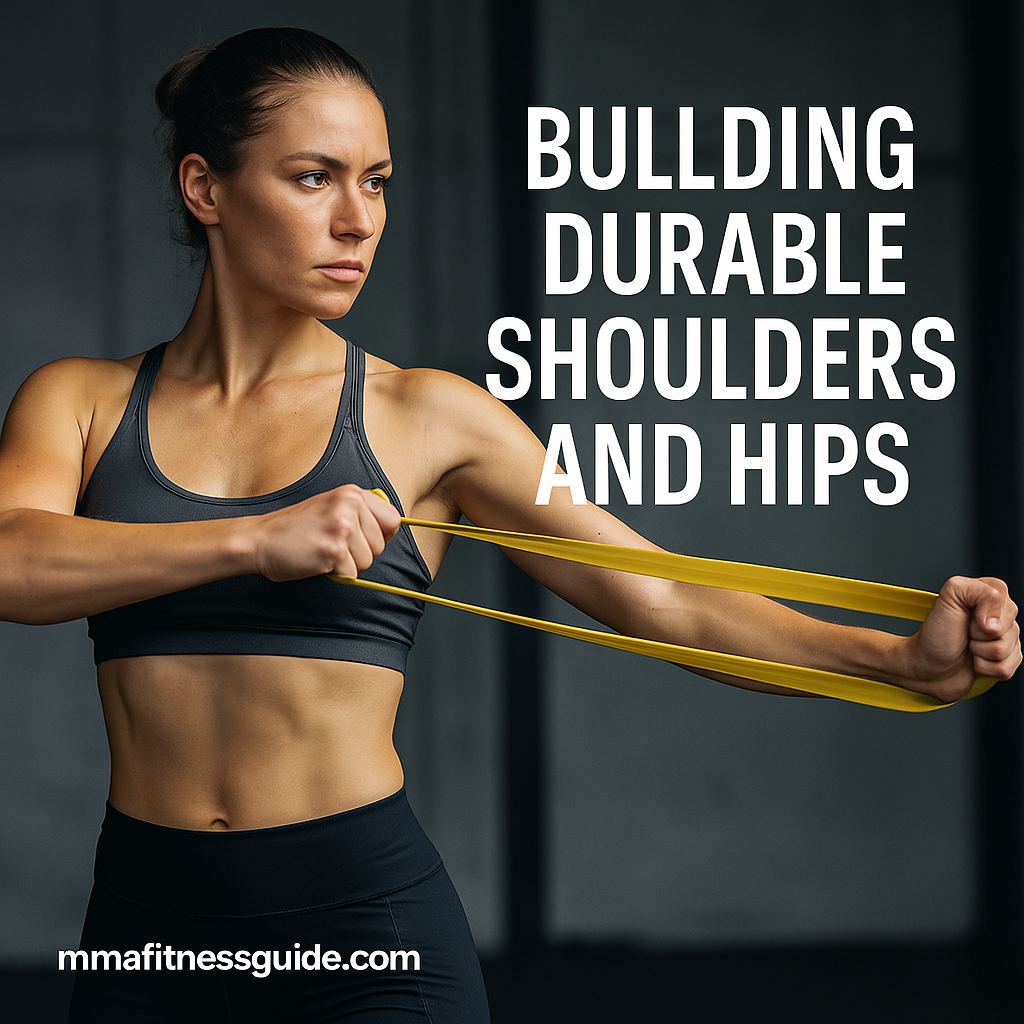
Exercise: Band External Rotation
Attach a light resistance band at approximately elbow height.
Stand sideways to the anchor and keep your working elbow near your torso.
Rotate your forearm outward without twisting your entire body.
Return slowly.
Starting prescription: 2 sets of 12–15 repetitions per arm.
Choose resistance that allows smooth movement. If you need to swing your torso to complete the exercise, use a lighter band.
Exercise: Side-Lying External Rotation
Lie on your side with a light dumbbell in your upper hand.
Keep your elbow bent and close to your body. Rotate your forearm upward, then lower it slowly.
Starting prescription: 2 sets of 10–15 repetitions.
Start light. The objective is controlled loading, not moving the heaviest possible dumbbell.
You can also incorporate appropriately programmed internal rotation exercises, although a complete shoulder program should include larger pushing and pulling movements.
3. Develop Strength Beyond Small Isolation Exercises
Band rotations and wall slides have a place, but they shouldn’t make up your entire shoulder program.
MMA fighters also benefit from developing strength through larger movement patterns.
Useful options include:
- Dumbbell rows
- Push-ups
- Landmine presses
- Cable rows
- Dumbbell overhead presses, when comfortable and appropriate
- Loaded carries
A landmine press can be particularly convenient for athletes who find traditional overhead pressing uncomfortable because it allows pressing along a different path.
However, it isn’t automatically suitable for everyone.
Choose exercises that fit your current ability and progress them gradually.
Example: A Simple Strength Pairing
Perform:
- Dumbbell row — 3 sets of 8–12 repetitions per side.
- Landmine press — 3 sets of 6–10 repetitions per side.
Use a load that leaves approximately two or three technically sound repetitions available at the end of each set.
As the exercises become easier, increase resistance gradually rather than immediately adding more sets and exercises.
4. Improve Overhead Movement Without Forcing It
Overhead mobility matters for certain grappling positions, framing movements, and strength exercises.
However, not every fighter needs an extreme overhead range.
If your arms don’t move comfortably overhead, investigate the limitation rather than forcing your way through it.
Shoulder movement can be influenced by several factors, including thoracic spine movement, muscular capacity, previous injuries, and individual anatomy.
Exercise: Thoracic Rotation
Begin on your hands and knees.
Place one hand behind your head and gently rotate your upper body, bringing your elbow toward the ceiling.
Return to the starting position.
Starting prescription: 6–8 controlled repetitions per side.
Exercise: Supported Shoulder Flexion
Place your hands on a bench and step backward.
Allow your chest to move gently toward the floor while keeping the movement comfortable.
Avoid aggressively pushing into pinching or sharp pain.
Hold briefly, then return.
Starting prescription: 5–8 controlled repetitions.
If overhead movement consistently produces pain, weakness, or catching, seek assessment rather than repeatedly stretching through the symptoms.
Part 2: Building Durable Hips
5. Develop Hip Mobility You Can Control
MMA requires the hips to move through several directions.
Kicks involve combinations of hip flexion, rotation, and extension. Wrestling requires level changes and lateral movement. Grappling introduces positions involving substantial hip rotation.
A good mobility routine should reflect these demands without turning every session into an attempt to achieve maximum flexibility.
Exercise: 90/90 Hip Transitions
Sit on the floor with both knees bent and your legs positioned to one side.
Rotate your knees toward the opposite side while maintaining as much control as possible.
Use your hands for support if needed.
Starting prescription: 2 sets of 5–8 transitions per side.
Move slowly and avoid forcing the knees.
Exercise: Hip Controlled Articular Rotations
Stand beside a wall for balance.
Lift one knee, move it outward, and guide the hip through a slow, comfortable circular path.
Reverse the direction.
Starting prescription: 3–5 controlled repetitions per direction, per leg.
Keep your torso relatively still and use a smaller range if the movement causes pinching.
More repetitions aren’t necessarily better. Focus on control.
Exercise: Lateral Lunges
Stand with your feet comfortably apart.
Step to one side and bend that knee while allowing the opposite leg to remain relatively straight.
Push through the working leg to return.
Starting prescription: 2 sets of 6–10 repetitions per side.
Begin with body weight before adding resistance.
Lateral lunges combine movement and strengthening, making them useful for athletes who need to control side-to-side positions.
6. Build Strong Glutes and Hamstrings
The glutes contribute to hip extension, rotation, and control during single-leg movements.
The hamstrings also support hip extension and knee function.
For MMA fighters, developing these muscle groups can support general strength and the physical demands of wrestling and striking.
Exercise: Single-Leg Romanian Deadlift
Stand on one leg with a slight bend in the knee.
Push your hips backward while allowing your torso to lean forward.
Keep your pelvis reasonably controlled and return to standing.
Use a wall or rack for balance if necessary.
Starting prescription: 2–3 sets of 6–10 repetitions per leg.
Start without weights. Add a dumbbell or kettlebell once you can control the movement.
Exercise: Glute Bridge
Lie on your back with your knees bent and feet on the floor.
Push through your feet and raise your hips.
Pause briefly, then lower with control.
Starting prescription: 2–3 sets of 10–15 repetitions.
Progress to a weighted bridge or hip thrust when appropriate.
Neither exercise is mandatory. They are options for building hip strength within a broader program.
7. Don’t Neglect the Adductors and Groin
The adductors are muscles along the inner thigh that contribute to hip movement and control.
They work during kicking, lateral movement, wrestling, and many grappling positions.
Sudden changes in direction or forceful movements can place considerable demands on this area.
Progressive adductor strengthening is therefore a useful part of a well-rounded program.
Exercise: Adductor Squeeze
Lie on your back with your knees bent.
Place a soft ball or folded towel between your knees.
Gently squeeze, hold for several seconds, and release.
Starting prescription: 2 sets of 6–10 holds, lasting approximately 5 seconds each.
Begin with moderate effort rather than squeezing as hard as possible.
Exercise: Short-Lever Copenhagen Plank
Lie on your side with your upper knee supported on a bench.
Lift your hips while maintaining a controlled position.
Use a shorter lever by supporting the knee rather than the ankle.
Starting prescription: 2 sets of 10–20 seconds per side.
This exercise can be demanding. Start with an easier variation and progress only when you can complete it comfortably.
If you already have groin pain, don’t assume Copenhagen planks are the right starting point. Seek individualized advice before loading a painful area.
8. Train Hip Stability Under Realistic Conditions
Balance exercises can help you practice controlling your body over one leg.
However, standing on an unstable surface isn’t automatically more effective than strengthening on stable ground.
For most fighters, controlled single-leg exercises provide a straightforward starting point.
Useful choices include:
- Step-downs
- Split squats
- Single-leg Romanian deadlifts
- Single-leg balance with controlled reaches
Exercise: Step-Down
Stand on a low step.
Slowly bend your supporting leg and lower the opposite heel toward the floor.
Lightly touch down, then return to standing.
Starting prescription: 2 sets of 6–10 repetitions per leg.
Use a lower step or hold a support if you cannot maintain control.
Once basic strength improves, your coach can introduce more dynamic drills such as controlled lateral movement, landing practice, and changes of direction.
Progress from predictable movements to more demanding tasks rather than beginning with chaotic drills.
Part 3: A Practical Shoulder and Hip Durability Routine
You don’t need to complete every exercise in this article during a single session.
In fact, doing so may add unnecessary fatigue to an already demanding MMA schedule.
Start with a short routine that addresses your needs, then use regular strength training to build capacity.
Option A: Pre-Training Preparation
Approximately 8–12 minutes before MMA practice
| Exercise | Amount |
|---|---|
| Scapular push-ups | 1 × 10 |
| Band external rotations | 1 × 12 per arm |
| Thoracic rotations | 1 × 6 per side |
| 90/90 hip transitions | 1 × 6 per side |
| Controlled hip circles | 3 per direction, per leg |
| Bodyweight lateral lunges | 1 × 8 per side |
Keep the effort light to moderate.
This routine should prepare you for training, not exhaust your shoulders and hips before you begin.
Follow it with activity-specific drills such as shadowboxing, footwork, or wrestling movements.
Option B: Strength and Durability Session
Approximately 25–35 minutes, twice per week
| Exercise | Sets × Reps |
|---|---|
| Landmine press | 3 × 8 per arm |
| Dumbbell row | 3 × 10 per arm |
| Single-leg Romanian deadlift | 3 × 8 per leg |
| Lateral lunge | 2 × 8 per side |
| Short-lever Copenhagen plank | 2 × 15 seconds per side |
Rest approximately 60–120 seconds between sets, adjusting as needed for the exercise and load.
Begin with manageable resistance. If you’re already performing substantial upper- and lower-body strength training, integrate these movements into your existing program rather than automatically adding another workout.
The goal is to improve capacity without compromising your MMA sessions.
How to Progress Without Doing Too Much
A common mistake is turning joint preparation into another high-intensity workout.
Your shoulders and hips already experience significant loading during striking, wrestling, and grappling.
Progress should reflect that.
For example, if you begin with two sets of eight single-leg Romanian deadlifts, keep that prescription until the movement feels controlled and the load becomes manageable.
You might then increase repetitions to ten before adding a small amount of weight.
Avoid increasing weight, sets, repetitions, and training frequency simultaneously.
For mobility exercises, progress may mean smoother movement and better control rather than reaching farther.
Pay attention to how your body responds during the session and afterward.
Temporary muscular effort is expected. Sharp pain, increasing joint discomfort, or symptoms that persist and worsen are reasons to stop or modify the exercise.
Common Mistakes That Undermine Shoulder and Hip Training
Stretching Aggressively Before Every Session
Forcing a joint into an extreme position isn’t the same as developing useful mobility.
Use controlled movement and work within a comfortable range. Build strength through the ranges you need.
Training Only With Light Bands
Light resistance exercises can be useful, particularly for warm-ups and targeted strengthening.
However, they don’t replace a complete resistance-training program.
Gradually developing strength through presses, rows, squats, hinges, and single-leg exercises provides broader physical preparation.
Assuming Every Tight Muscle Needs Stretching
A sensation of tightness doesn’t automatically identify the cause of a movement limitation.
Strength, fatigue, coordination, joint structure, and previous injuries may all contribute.
If a restriction is persistent or painful, seek an appropriate assessment rather than repeatedly forcing the same stretch.
Ignoring the Rest of Your Training Schedule
A challenging hip workout immediately before hard wrestling may leave you fatigued when you need to perform well.
Place demanding strength sessions strategically and adjust their volume during intense MMA training periods.
Trying to Exercise Through Joint Pain
Discomfort that worsens during an exercise is not a sign that the joint is becoming more durable.
Persistent pain, instability, significant weakness, or a sudden loss of movement deserves professional evaluation.
What If You Already Have Shoulder or Hip Pain?
A general durability routine is intended for physical preparation, not for diagnosing or treating an existing injury.
Shoulder pain may involve several structures, and hip pain can originate from the joint itself or surrounding tissues. Similar symptoms can have different causes.
Stop an activity if it produces sharp pain or makes symptoms progressively worse.
Seek medical evaluation for significant pain after an injury, a suspected dislocation, inability to bear weight, substantial weakness, or a noticeable loss of movement.
Persistent symptoms should also be assessed, even if you can still complete your workouts.
A qualified healthcare professional can help determine which activities are appropriate and whether rehabilitation is needed.
Don’t use a generic exercise list as a substitute for individualized care.
Frequently Asked Questions
How Often Should MMA Fighters Train Their Shoulders and Hips?
A short, low-fatigue movement routine can fit into several weekly warm-ups. More demanding strength exercises may fit into two or three weekly sessions, depending on your overall program.
You don’t need to train every shoulder and hip exercise every day.
Should I Stretch My Hips Before Kicking?
A gradual warm-up with controlled hip movements and progressively higher or faster kicks is a practical approach.
Long passive stretches aren’t required before every kicking session. Choose preparation that helps you move comfortably without causing fatigue.
Are Resistance Bands Enough to Build Durable Shoulders?
Bands can help train specific movements, but a complete program should also develop broader pushing, pulling, and other strength qualities through appropriate progressive resistance.
Will Stronger Hips Automatically Make My Kicks More Powerful?
Not automatically. Strength contributes to physical capacity, but kicking performance also depends on technique, coordination, timing, and sport-specific practice.
Strength training should support skill development rather than replace it.
Can These Exercises Prevent Shoulder and Hip Injuries?
No routine can guarantee injury prevention.
Progressive strengthening, appropriate movement preparation, sensible training loads, and adequate recovery can help prepare your body for MMA’s demands, but injuries can still occur.
Final Thoughts: Build Capacity, Not Just Flexibility
Durable shoulders and hips aren’t built through one complicated warm-up or a handful of corrective exercises.
They develop through consistent training that combines useful movement, progressive strength, appropriate sport-specific practice, and recovery.
Start with a few exercises that fit your current needs. Perform them with control, increase the challenge gradually, and pay attention to how they affect the rest of your training.
You don’t need perfect mobility or an elaborate daily routine.
You need shoulders and hips that can meet the demands of your training—and a program that gives them enough time to adapt.
Build strength you can control, use the range of motion you need, and make long-term consistency the priority.