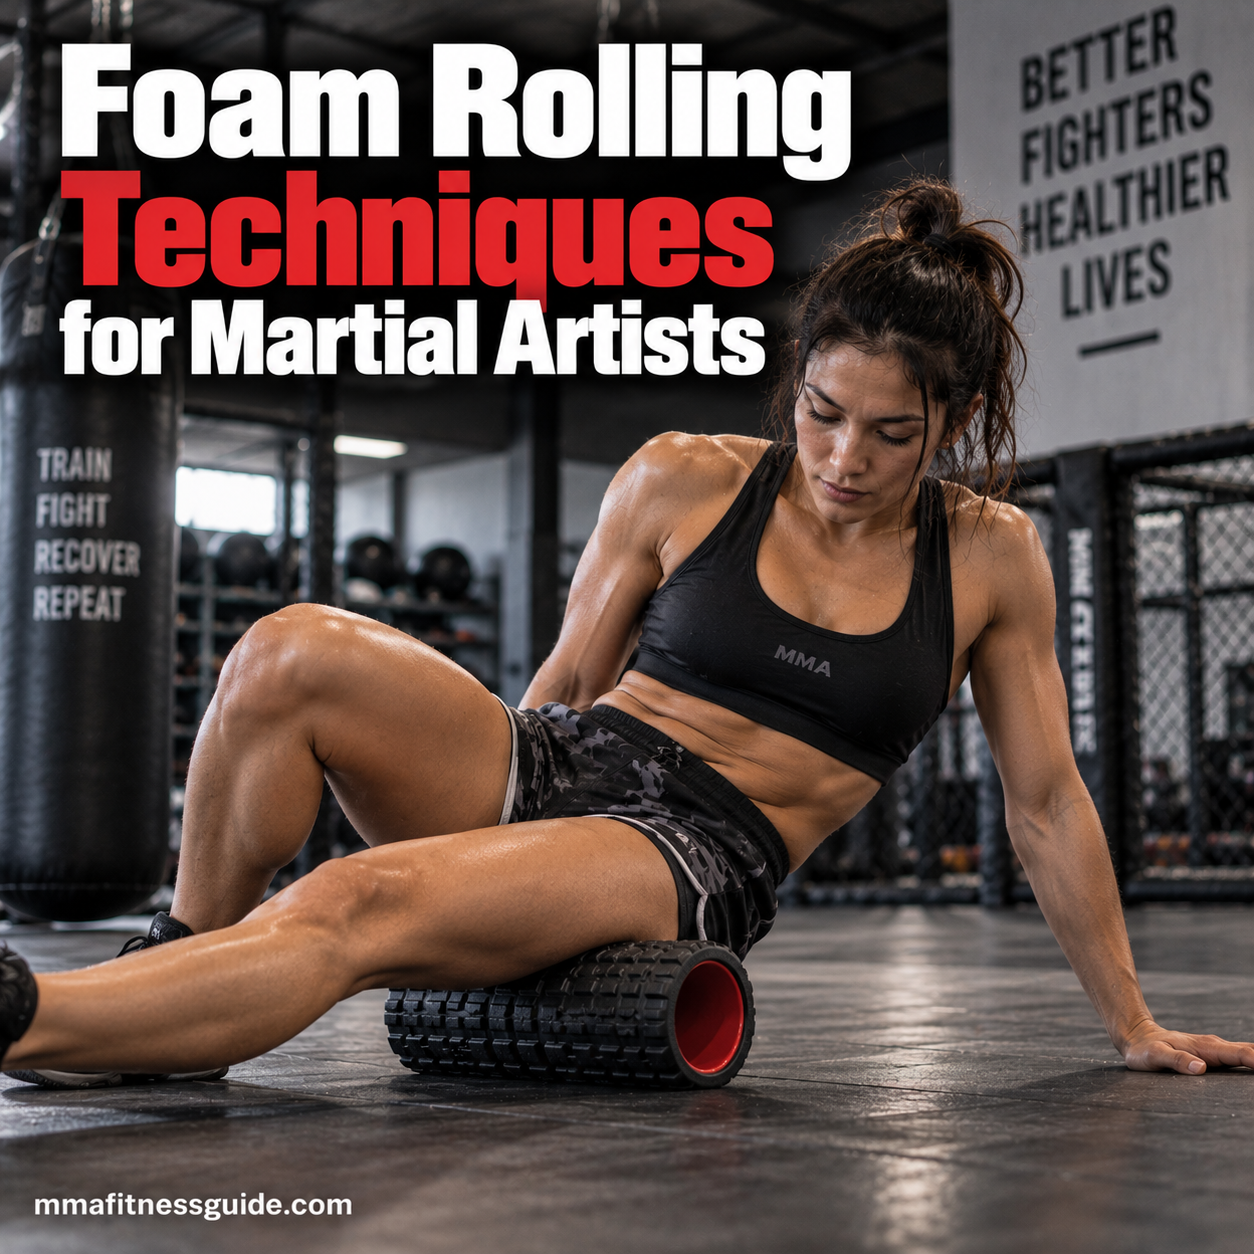
A long session of kicking can leave the calves and quads tight. Wrestling rounds often load the hips, glutes, and upper back, while repeated punching and clinch work can leave the shoulders and lats feeling stiff. When that tightness carries into the next session, stance changes, kicks, shots, and defensive movements may feel less comfortable.
Foam rolling gives martial artists a simple way to apply controlled pressure to those heavily worked muscles. A few minutes before training may temporarily improve range of motion in a tight area, while post-training rolling can help reduce the perception of muscle soreness.
The technique matters more than how hard you can press. Slow passes, moderate pressure, and attention to the muscles that actually feel restricted are usually more useful than aggressively rolling the entire body.
What Foam Rolling Does
Foam rolling is commonly described as a form of self-myofascial release. The roller applies external pressure to muscles and surrounding tissues while you control the intensity with your bodyweight.
Rather than trying to physically “break up knots,” think of rolling as a way to temporarily change how a tight or sore area feels and moves.
Foam rolling may help with:
- Short-term improvements in range of motion
- Reducing perceptions of post-training soreness
- Making stiff muscles feel more comfortable
- Preparing specific areas for subsequent mobility work
- Managing muscular tightness between training sessions
For martial artists, those effects can be useful when repeated training leaves specific muscle groups feeling restricted.
When to Foam Roll
Foam rolling can fit before or after training, but the purpose changes depending on when you use it.
Before Training
Keep pre-training rolling brief and targeted.
If your calves feel stiff before kickboxing or your hips feel restricted before wrestling, spend roughly 30–60 seconds on those areas before moving into your dynamic warm-up.
The goal is to make movement feel easier—not relax on the roller for 20 minutes before explosive work.
After Training
Post-training rolling can focus on muscles that accumulated the most tension during the session.
After hard grappling, that might mean the glutes, lats, and upper back. Following striking rounds, the calves, quads, shoulders, and upper back may need more attention.
On Rest Days
Light rolling can accompany walking, mobility exercises, or stretching on recovery days.
There is no requirement to foam roll every muscle. Focus on areas that actually feel stiff or sore.
Key Areas for Martial Artists
Different combat sports create different patterns of muscular stress. These are several areas that commonly become tight after MMA, BJJ, Muay Thai, wrestling, and other martial arts training.
1. Calves
The calves work constantly during stance changes, pivots, kicks, level changes, and footwork.
Tight calves can make ankle movement feel restricted, particularly when driving the knee forward over the toes or lowering into a wrestling stance.
How to Roll
- Sit with the roller underneath one calf.
- Support your upper body with your hands.
- Slowly move from above the Achilles area toward the upper calf.
- Rotate the leg slightly to explore different parts of the muscle.
- Spend approximately 30–60 seconds on each side.
For more pressure, cross the opposite leg over the working leg.
Avoid rolling directly over the Achilles tendon or ankle joint.
2. Quadriceps
Kicking, sprawls, shots, squats, and conditioning can leave the quadriceps heavily fatigued.
How to Roll
- Lie face down with the roller underneath one or both thighs.
- Support yourself on your forearms.
- Slowly roll from the upper thigh toward just above the knee.
- Shift your body slightly to reach different portions of the quadriceps.
- Pause briefly on particularly sensitive muscular areas.
Keep the pressure manageable enough that you can breathe normally and relax the leg.
3. Outer Thigh
Many athletes aggressively roll directly along the iliotibial (IT) band because the area feels tight. The IT band itself is dense connective tissue, however, and grinding directly over a painful outer thigh isn’t necessary.
Instead, use controlled pressure around the surrounding muscles of the lateral thigh and hip.
How to Roll
- Position yourself on your side.
- Use your arms and opposite leg to control how much weight reaches the roller.
- Work slowly around the outer thigh and lateral hip muscles.
- Reduce pressure if the area becomes excessively painful.
More discomfort does not mean a better release.
4. Glutes and Hips
The hips generate and transfer force during kicks, takedowns, sprawls, bridges, guard work, and scrambling.
How to Roll the Glutes
- Sit on the roller.
- Cross one ankle over the opposite knee.
- Shift your weight toward the crossed-leg side.
- Make short, controlled movements over the glute.
- Spend approximately 30–60 seconds before switching sides.
A massage ball can provide more targeted pressure if a roller feels too broad.
Be cautious with aggressive rolling around the front of the hip or groin, where sensitive structures are located.
5. Upper Back
Grappling, clinching, framing, and maintaining a fighting stance can leave the upper back feeling stiff.
How to Roll
- Place the roller underneath your upper or mid-back.
- Bend your knees and keep your feet planted.
- Cross your arms or lightly support your head.
- Lift your hips enough to control the pressure.
- Slowly move across the upper and mid-back.
Keep the movement controlled and avoid repeatedly rolling directly over the lower spine.
6. Lats
The latissimus dorsi works heavily during pulling, clinching, grip fighting, grappling, and many strength exercises.
How to Roll
- Lie partially on your side.
- Position the roller beneath the muscular area below the armpit.
- Extend the working-side arm comfortably.
- Slowly move through the upper portion of the lat.
- Adjust your torso angle to change where pressure is applied.
Avoid placing heavy pressure directly into the armpit.
7. Shoulders and Chest
Punching repeatedly brings the arms forward, while grappling adds pulling, framing, posting, and rotational demands.
How to Work These Areas
A massage ball against a wall often provides better control than a full-size foam roller.
For the upper chest:
- Place the ball between the upper chest and wall.
- Lean into it gently.
- Make small movements over the muscular tissue.
- Avoid pressing directly onto the shoulder joint or collarbone.
For the rear shoulder, position the ball against a wall and gradually move around the muscular portion of the shoulder blade area.
A Simple 10-Minute Foam Rolling Routine
Your routine should reflect the training you just completed rather than automatically following the same sequence every day.
One general post-training routine could look like this:
- Calves – 45 seconds per side
- Quads – 45 seconds per side
- Glutes – 45 seconds per side
- Outer thigh and lateral hip muscles – 45 seconds per side
- Upper back – 60 seconds
- Lats – 45 seconds per side
- Shoulders – 45 seconds per side
Follow the rolling with comfortable mobility work or light stretching if needed.
You can also shorten the routine considerably. If only your calves and hips feel tight after training, work those areas and move on.
How Much Pressure Should You Use?
Foam rolling doesn’t need to hurt to work.
Use enough bodyweight to create noticeable pressure while still being able to breathe normally and keep the muscle relatively relaxed.
Reduce or stop the pressure if you experience:
- Sharp pain
- Burning or electrical sensations
- Numbness
- Tingling
- Increasing pain
- Significant tenderness following an injury
Avoid rolling directly over swollen tissue, bones, joints, open wounds, or suspected acute injuries.
Common Foam Rolling Mistakes
Rolling Too Fast
Rapidly moving backward and forward gives you little opportunity to identify which areas actually feel restricted.
Slow down and control each pass.
Using Excessive Pressure
If you’re holding your breath and tensing every muscle to tolerate the roller, reduce the pressure.
Use your hands, opposite leg, or another point of contact with the floor to unload some bodyweight.
Rolling Directly Over Joints
Keep the roller primarily on muscular tissue rather than repeatedly crossing knees, ankles, elbows, or other joints.
Treating Every Painful Area as Tight Muscle
Not every ache needs foam rolling.
Pain from an acute injury, significant swelling, neurological symptoms, or persistent joint problems should be evaluated rather than repeatedly compressed with a roller.
Spending Too Long on One Area
A longer session isn’t automatically better. Start with roughly 30–60 seconds per area and assess how it feels afterward.
Pair Foam Rolling With Movement
Rolling is more useful when it leads into movement rather than becoming the entire recovery strategy.
For example:
Tight calves:
Foam roll → ankle mobility → dynamic warm-up
Stiff hips:
Glute rolling → controlled hip mobility → movement drills
Tight upper back:
Upper-back rolling → thoracic rotation → shoulder warm-up
This gives the fighter an opportunity to use the available range of motion immediately afterward.
Foam Rolling and Recovery
Foam rolling cannot compensate for inadequate sleep, excessive training volume, poor nutrition, or an untreated injury.
Use it alongside the recovery basics:
- Adequate sleep
- Appropriate hydration
- Sufficient nutrition
- Rest between demanding sessions
- Strength and mobility work
- Gradual management of training volume
A roller is simply another tool for managing how your muscles feel between sessions.
Key Takeaways
Foam rolling works best when it has a specific purpose. If your calves feel restricted before kicking, spend a minute working on them and follow with ankle mobility. If your upper back and lats are stiff after grappling, target those areas rather than rolling every muscle from head to toe.
Keep the pressure controlled, stay primarily on muscular tissue, and avoid trying to force painful areas to “release.”
For martial artists training several days per week, even five or ten focused minutes can fit easily into a warm-up or post-training routine. The objective is straightforward: address the muscles that feel restricted, restore comfortable movement, and arrive at the next session ready to train.