Introduction
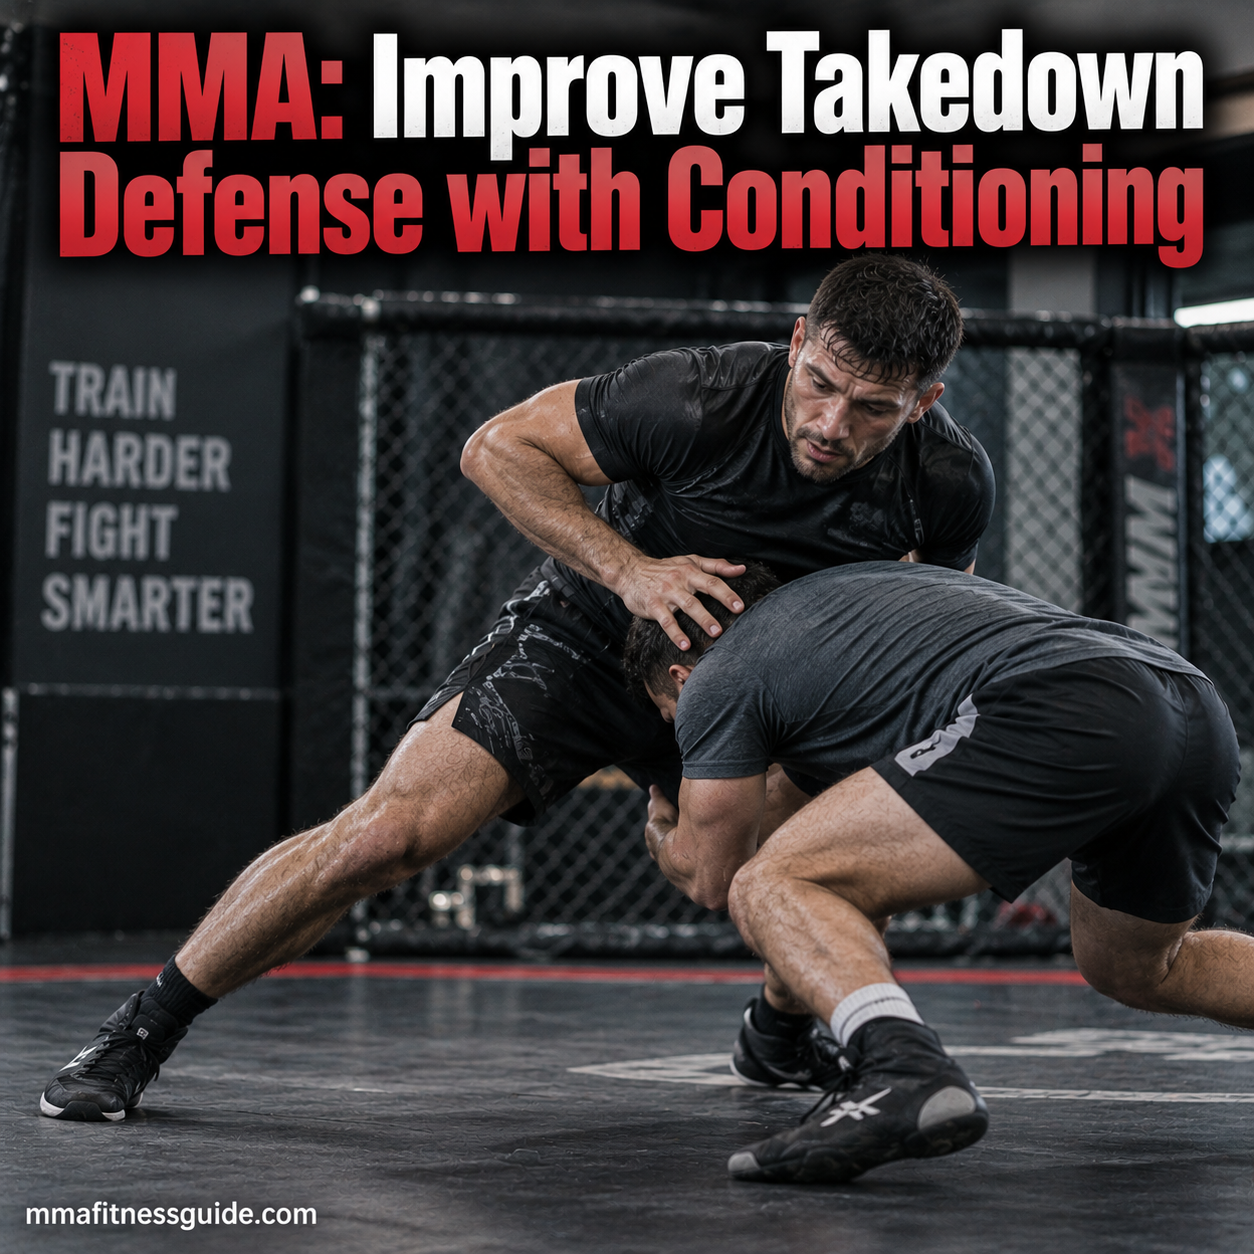
Defending a takedown often happens in a matter of seconds. You may need to drop your hips into a sprawl, establish an underhook, absorb forward pressure, circle away from the cage, or scramble back to your feet.
Technique determines how you perform those actions, but fatigue can make even well-practiced movements slower and less precise.
Conditioning for takedown defense should therefore focus on the physical demands behind the technique: hip extension, balance, leg drive, trunk stability, repeated sprawls, and short bursts of scrambling.
The following drills can be added to MMA practice or strength training to develop those qualities.
How Conditioning Supports Takedown Defense
A fresh fighter may react quickly to a shot and immediately recover position. After several hard exchanges, the same reaction can become slower. The stance rises, the hips become easier to reach, and fighting for underhooks becomes more tiring.
Targeted conditioning can help you:
- Repeat sprawls without a major drop in speed
- Maintain a stable stance while absorbing forward pressure
- Continue fighting for underhooks during prolonged clinches
- Produce leg drive when defending against the cage
- Recover quickly during scrambles
- Maintain defensive technique later in training rounds
Conditioning doesn’t replace wrestling practice. It helps you continue applying the techniques you’ve already learned when fatigue begins to accumulate.
Physical Qualities Behind Takedown Defense
Hip Strength and Extension
When an opponent attacks your legs, getting your hips away from the shot can prevent them from establishing a strong position.
Sprawls train this movement directly, while exercises such as hip thrusts and kettlebell swings can develop hip extension away from technical practice.
Hip strength also becomes useful when you’re trying to create space or apply downward pressure after an opponent reaches your legs.
Core and Back Stability
Takedown attempts frequently involve pulling, twisting, lifting, and driving your body away from its preferred position.
Your trunk has to remain stable while your arms and legs work independently.
Planks, carries, controlled crawling variations, and other trunk exercises can help develop the ability to maintain posture while force is being applied from different directions.
Leg Drive
Against forward pressure, simply standing still usually isn’t enough.
You may need to widen your base, push into your opponent, circle away, or drive off one leg to reposition your hips.
Squats, split squats, sled pushes, hill sprints, and similar lower-body exercises can develop the leg strength and repeated effort required for those movements.
Scramble Conditioning
Stopping the initial shot doesn’t always end the takedown attempt.
An opponent may transition to another attack, switch directions, climb toward your hips, or continue driving after you’ve sprawled.
That creates a sequence of short, explosive movements rather than one isolated defensive action.
Scramble conditioning prepares you to keep moving through those sequences without immediately slowing down.
Conditioning Drills for Takedown Defense
These drills emphasize movements that appear regularly during wrestling exchanges.
1. Sprawl-to-Stand Repeats
Begin in your fighting stance.
Drop into a controlled sprawl, extend your hips, then quickly return to your stance and reset.
Repeat for repetitions or timed intervals.
This drill trains the transition from defending a shot back into a position where you can strike, circle, or defend another attempt.
Start with controlled repetitions before increasing speed.
2. Wall Stand-Ups
Begin seated or on the ground with your back near a padded wall.
Use the wall for support as you work back toward a standing position while protecting your balance.
The movement develops coordination between the hips, legs, and upper body during a common MMA situation: getting back to your feet when an opponent has forced you toward the cage.
Practice the technical movement with a qualified coach before turning it into a conditioning drill.
3. Light Pummeling Rounds
Partner pummeling develops underhook positioning, posture, balance, and comfort in close-range exchanges.
Instead of treating every exchange like a competition, maintain a steady pace and concentrate on positioning.
Try short rounds of 30–60 seconds.
As your conditioning improves, gradually extend the rounds while keeping your shoulders relaxed and your breathing controlled.
4. Sled Pushes
Sled pushes develop horizontal leg drive without requiring complicated technique.
Use a load that allows you to maintain a strong body position while driving through the legs.
Short distances performed repeatedly can work well for MMA conditioning.
If a sled isn’t available, choose another controlled lower-body conditioning exercise rather than improvising with unstable equipment.
5. Bear Crawls
Bear crawls require your shoulders, trunk, hips, and legs to work together while your body stays close to the floor.
Move forward or backward using controlled steps while keeping your hips relatively stable.
Short intervals of 20–30 seconds are usually enough to make the exercise challenging without allowing technique to deteriorate.
6. Low-Stance Movement
Start in a wrestling or MMA stance and move forward, backward, and laterally while maintaining your base.
Avoid standing upright as you become tired.
You can also incorporate controlled level changes without completing a shot.
This drill trains your legs to remain active while maintaining a stance that allows you to react to takedown attempts.
Sample Takedown Defense Conditioning Routine
This session can be performed as a short conditioning block separate from technical wrestling practice.
Warm-Up: 3–5 Minutes
- Light jogging or jump rope
- Hip rotations
- Controlled squats
- Light stance movement
- Several slow sprawls
Conditioning Block
Sprawl-to-Stand
3 sets of 8–10 controlled repetitions
Bear Crawls
3 sets of 20–30 seconds
Wall Stand-Ups
2–3 sets of 5–6 repetitions
Low-Stance Footwork
2 sets of 30–45 seconds
Light Partner Pummeling
2–3 rounds of 30–60 seconds
Rest long enough between exercises to maintain good movement quality.
The purpose isn’t to perform every drill at maximum speed. You’re trying to accumulate repeated defensive movements while keeping your positioning intact.
How to Progress the Workout
Increase the difficulty gradually instead of adding large amounts of volume at once.
You might progress by:
- Adding a few seconds to timed drills
- Adding one additional set
- Slightly shortening recovery periods
- Increasing the pace of sprawls
- Extending pummeling rounds
- Adding appropriate resistance to strength exercises
Change one variable at a time.
For example, if you’re performing three 20-second bear crawls comfortably, increase them to 25 or 30 seconds before adding several additional sets.
Where Conditioning Fits With Technical Training
Physical conditioning cannot correct poor takedown mechanics.
If your stance is too upright, your sprawl timing is late, or you don’t know how to use underhooks effectively, performing hundreds of conditioning repetitions won’t solve the technical problem.
Technical drilling should come first.
Conditioning then helps you maintain those movements through repeated exchanges.
Partner drills are especially valuable because another person introduces pressure, timing, direction changes, and resistance that solo exercises cannot fully reproduce.
Tips for Training Safely and Consistently
Keep conditioning sessions short enough that they don’t interfere with wrestling practice, sparring, or recovery.
A few additional guidelines:
- Perform technical drills before you’re heavily fatigued
- Increase volume gradually
- Keep your stance and posture consistent as you tire
- Use controlled resistance during partner drills
- Give yourself adequate recovery between demanding sessions
- Stop if pain or dizziness develops
Two dedicated conditioning sessions per week may be enough for many recreational athletes, particularly when regular MMA classes already include wrestling, grappling, and sparring.
Final Thoughts
Effective takedown defense involves more than stopping the first shot.
You may have to sprawl, fight for an underhook, absorb another drive, reposition your feet, circle away, and then defend again—all within the same exchange.
Conditioning should prepare you for that sequence.
Build the technical foundation through wrestling practice, then use sprawls, stance movement, crawling, leg-drive exercises, and controlled partner work to improve your ability to repeat those movements under fatigue.
The objective isn’t simply to become harder to tire. It’s to keep your defensive mechanics working when the pace of the round increases.