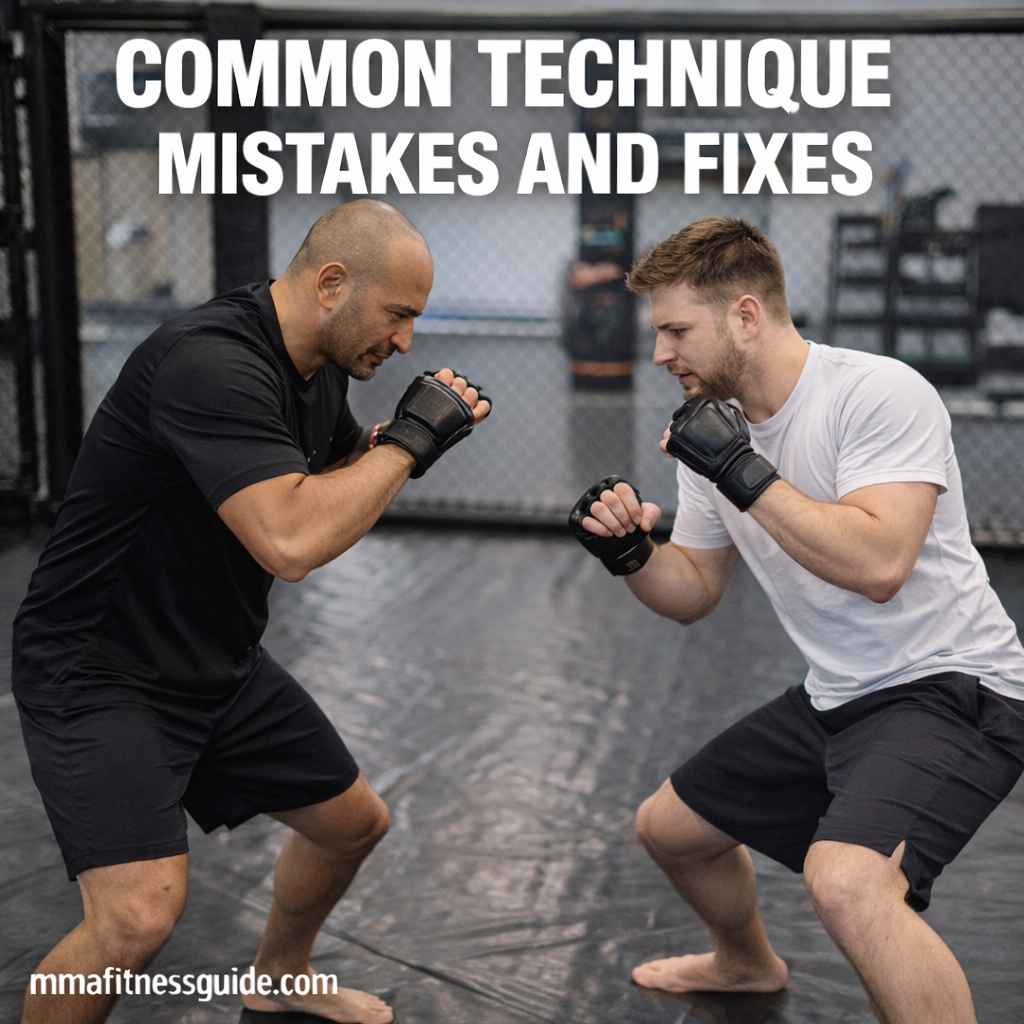
Introduction
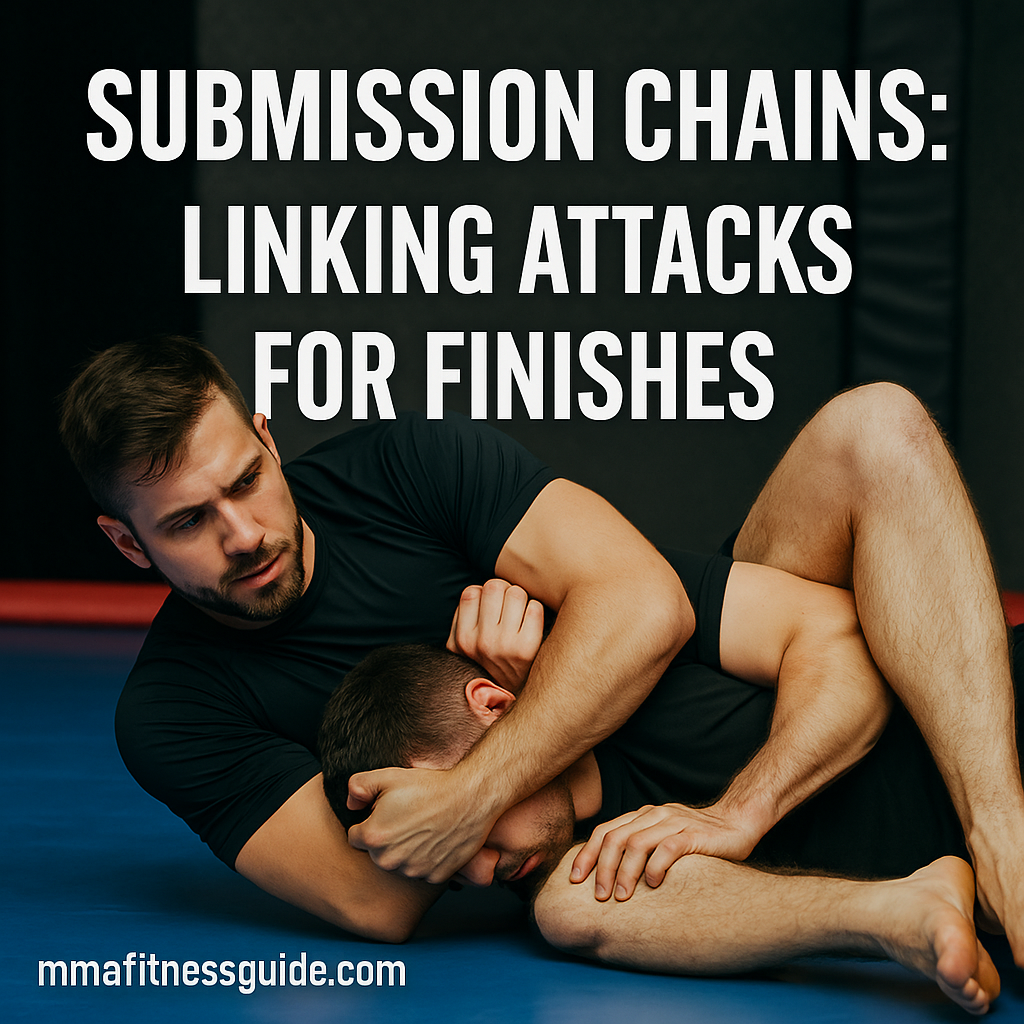
One of the biggest leaps in grappling is learning how to link submissions together. Instead of attacking once and stopping when the opponent defends, you flow from one technique to the next. This is called a submission chain, and it’s how experienced grapplers create openings and finish fights even against tough opponents.
You don’t need dozens of submissions to build good chains — just a few reliable attacks that connect naturally. The more you link your moves, the harder it becomes for your opponent to keep up.
Below is a simple guide to submission chaining that works well for beginners.
Why Submission Chains Work
A single submission attempt is easy to defend. A chain of them creates pressure and confusion.
Submission chains help you:
- Make opponents react
- Stay one step ahead
- Create openings when the first move fails
- Conserve energy by flowing smoothly
- Reduce stalling in tough positions
- Build confidence in finishing opportunities
Instead of forcing one submission, you create a path to multiple options.
Start With a Primary Submission
Every good chain begins with a solid first attack. It doesn’t matter if it finishes — it just needs to force a reaction.
Common starting attacks for beginners:
- Armbar
- Triangle choke
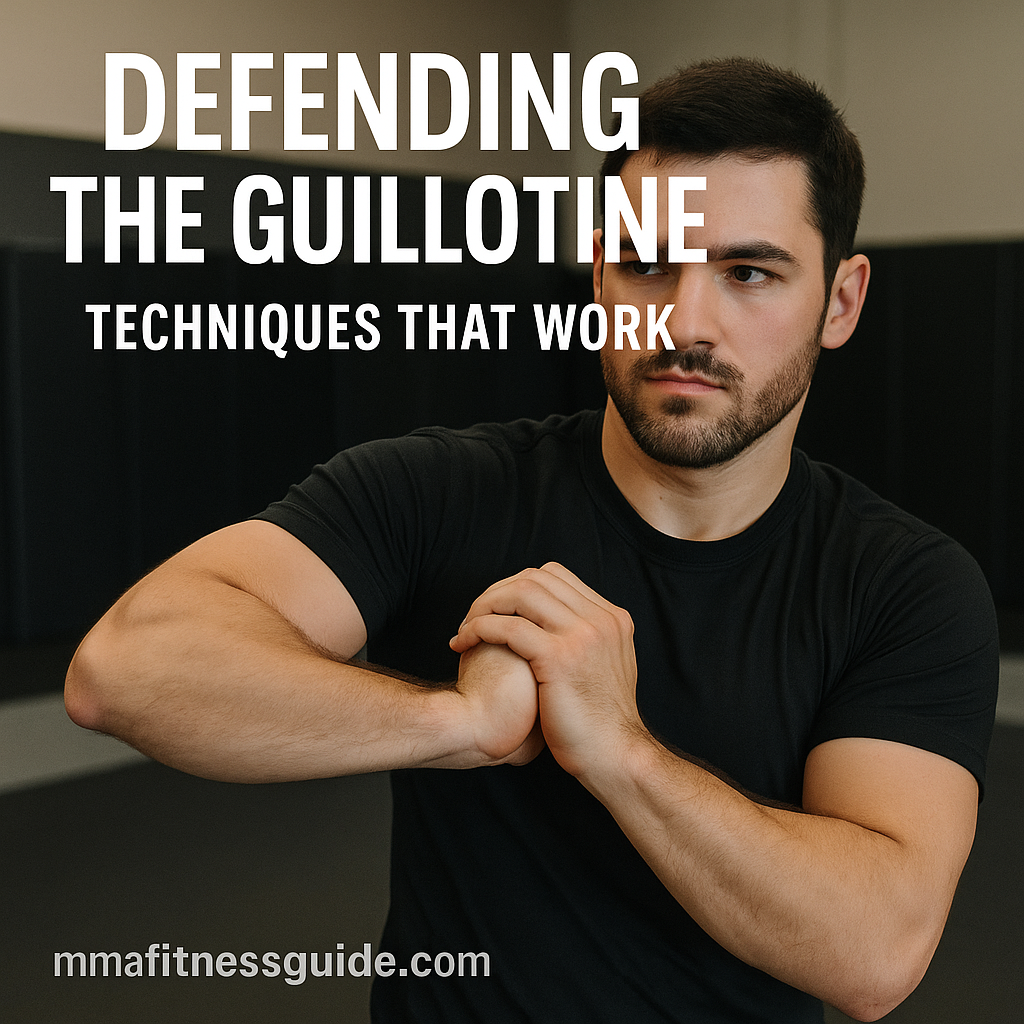
- Guillotine
- Kimura
- Rear-naked choke
- Americana
These moves create predictable reactions, making the next step easy.
Chain 1: Armbar → Triangle → Omoplata
This is one of the most classic sequences in BJJ because all three moves come from the same setup — attacking the arm.
Step 1: Armbar
You isolate the arm, swing your leg over, and attack.
Step 2: Triangle
If the opponent stacks or pulls out, their posture opens. Slide your leg over and lock the triangle.
Step 3: Omoplata
If they defend the triangle by posturing or turning out, the omoplata becomes available.
Why it works:
No wasted motion. Every defense exposes the next submission.
Chain 2: Guillotine → Anaconda → D’Arce
These front-headlock chains work well for MMA and no-gi grappling.
Step 1: Guillotine
Attack the neck from standing or the sprawl.
Step 2: Anaconda
If the opponent rolls or pulls their head out, wrap deeper and slide into the anaconda choke.
Step 3: D’Arce
If they try to escape by turning in or coming up on an elbow, thread your arm through and lock a D’Arce.
Why it works:
You’re always following the head and arm — the opponent can’t escape both.
Chain 3: Kimura → Back Take → Armbar
Great for MMA because the kimura grip gives excellent control.
Step 1: Kimura
When the opponent defends by tucking their elbow, hold the grip and adjust position.
Step 2: Back Take
Use the kimura to sit up, move behind them, and secure hooks.
Step 3: Armbar
If the opponent turns into you, transition directly to the armbar.
Why it works:
Kimura grip keeps the arm isolated the entire time.
Chain 4: Triangle → Mounted Triangle → Armbar
Beginners often lose triangles when the opponent postures. Turning the failed attempt into a mount helps keep control.
Step 1: Triangle
Begin the choke normally.
Step 2: Mounted Triangle
If the opponent stands or lifts, sit up, turn, and climb into mount.
Step 3: Armbar
If they defend by pushing your leg off, swing into the armbar.
Why it works:
Moving to mount improves control and opens a powerful finishing angle.
Chain 5: Rear-Naked Choke → Short Choke → Arm Triangle
A simple chain from the back.
Step 1: RNC
Attack the classic choke.
Step 2: Short Choke
If they defend the second hand, slide under the chin and finish with a short choke.
Step 3: Arm Triangle
If they turn toward you, follow them and transition to mount or side control for the arm triangle.
Why it works:
Back control gives multiple finishes without much risk.
Key Principles of Submission Chaining
1. Don’t Stop After the First Attempt
Always assume the opponent will defend.
2. Flow, Don’t Force
Smooth transitions conserve energy and keep you safe.
3. Use Predictable Reactions
Every submission has a common defense — use it to your advantage.
4. Control Comes Before Finishing
Good grips and positioning make the chain work.
5. Drill Slowly First
Learn the sequence at slow speed before attempting it live.
How to Practice Submission Chains
Use simple drilling formats:
Repetition Drilling
Work the chain slowly 10–15 reps per side.
Flow Rolling
Light rolling where you focus on transitions, not strength.
Positional Rounds
Start in a specific position (like closed guard, back control, or mount).
Goal: practice chaining submissions without losing control.
Slow Sparring
Move at half-speed and look for smooth transitions.
These methods help build confidence without overwhelming beginners.
Why Submission Chains Help MMA Fighters
In MMA, finishing chances often come from scrambles. Submission chains:
- Keep opponents uncomfortable
- Create openings during transitions
- Work even when strikes are used
- Help you stay technical under pressure
You don’t need dozens of moves — just a few strong links.
Final Thoughts
Submission chains make your grappling more dangerous and more fluid. By linking simple attacks together, you create constant openings instead of relying on a single submission. Start with easy chains, drill them slowly, and let the transitions become natural over time.